
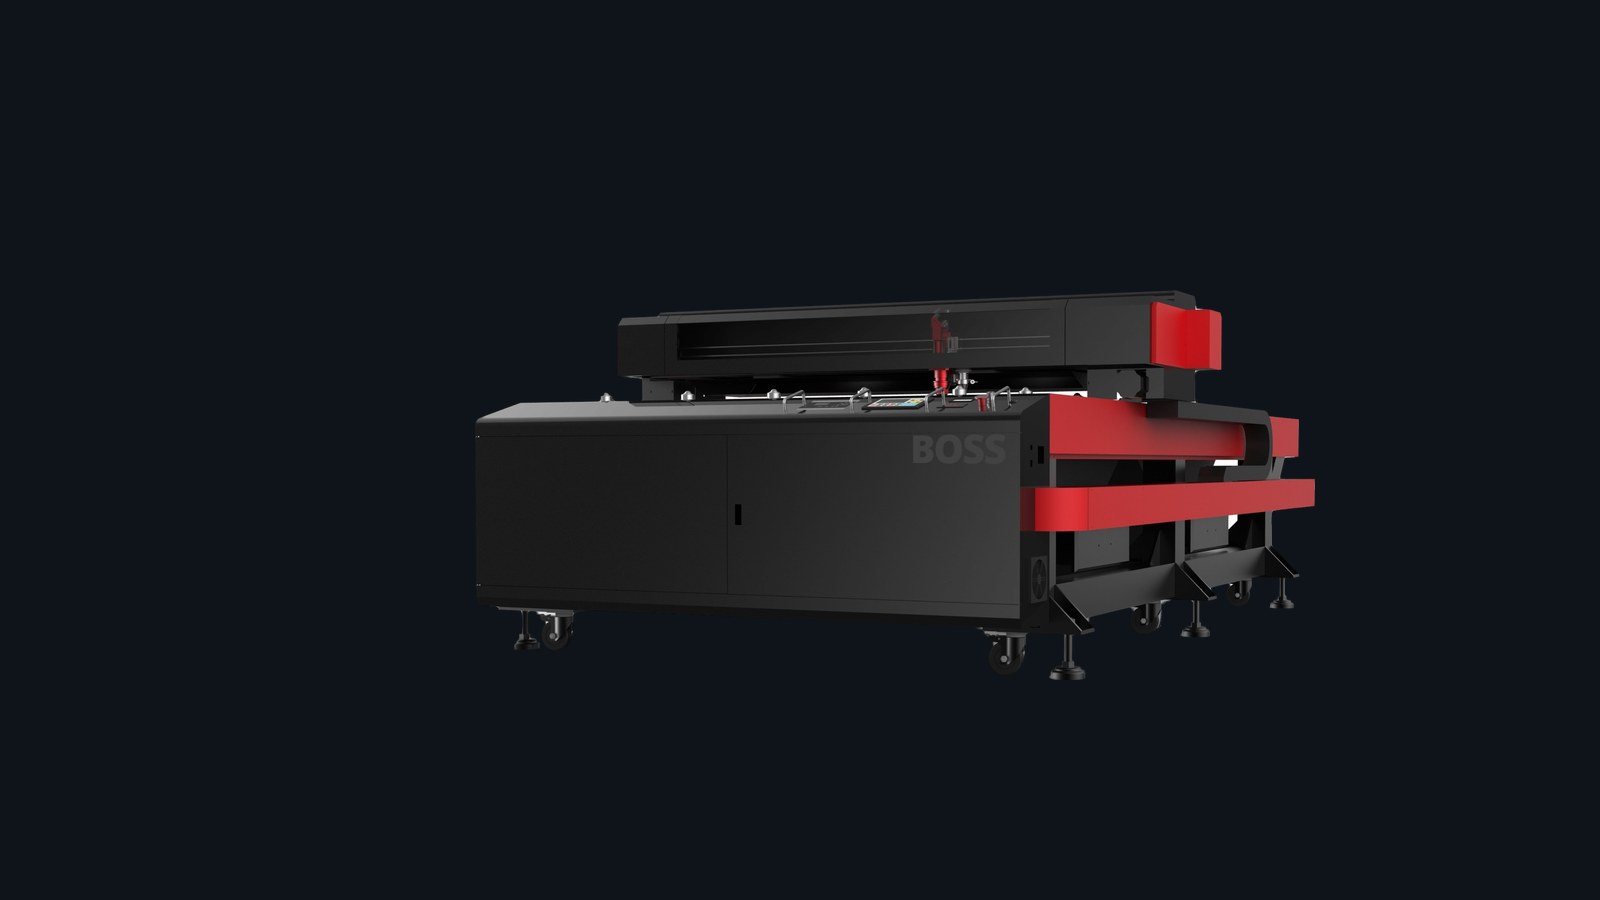
Model resources
Start with downloads and first checks.
This page is for owners who already know the model. It answers the first support question: what should I check right now?
Download
Owner’s Manual
Safety, operation, maintenance, and machine-reference information.
Download
Quick Start Guide
Startup, setup confirmation, and first-use checklist for the model.
Setup
LightBurn / RDWorks
Software connection and controller workflow references for common setups.
Support
Contact Support
Send photos, symptoms, serial number, and completed quick-test results.
Start here
Pick your symptom.
The three common paths for support: firing, alignment, and cut or engrave quality.

Symptom
Laser Not Firing
If the head moves but the laser does not fire, start with interlocks and basic power-path tests.
- Confirm emergency stop, lid, door, and water-protection status.
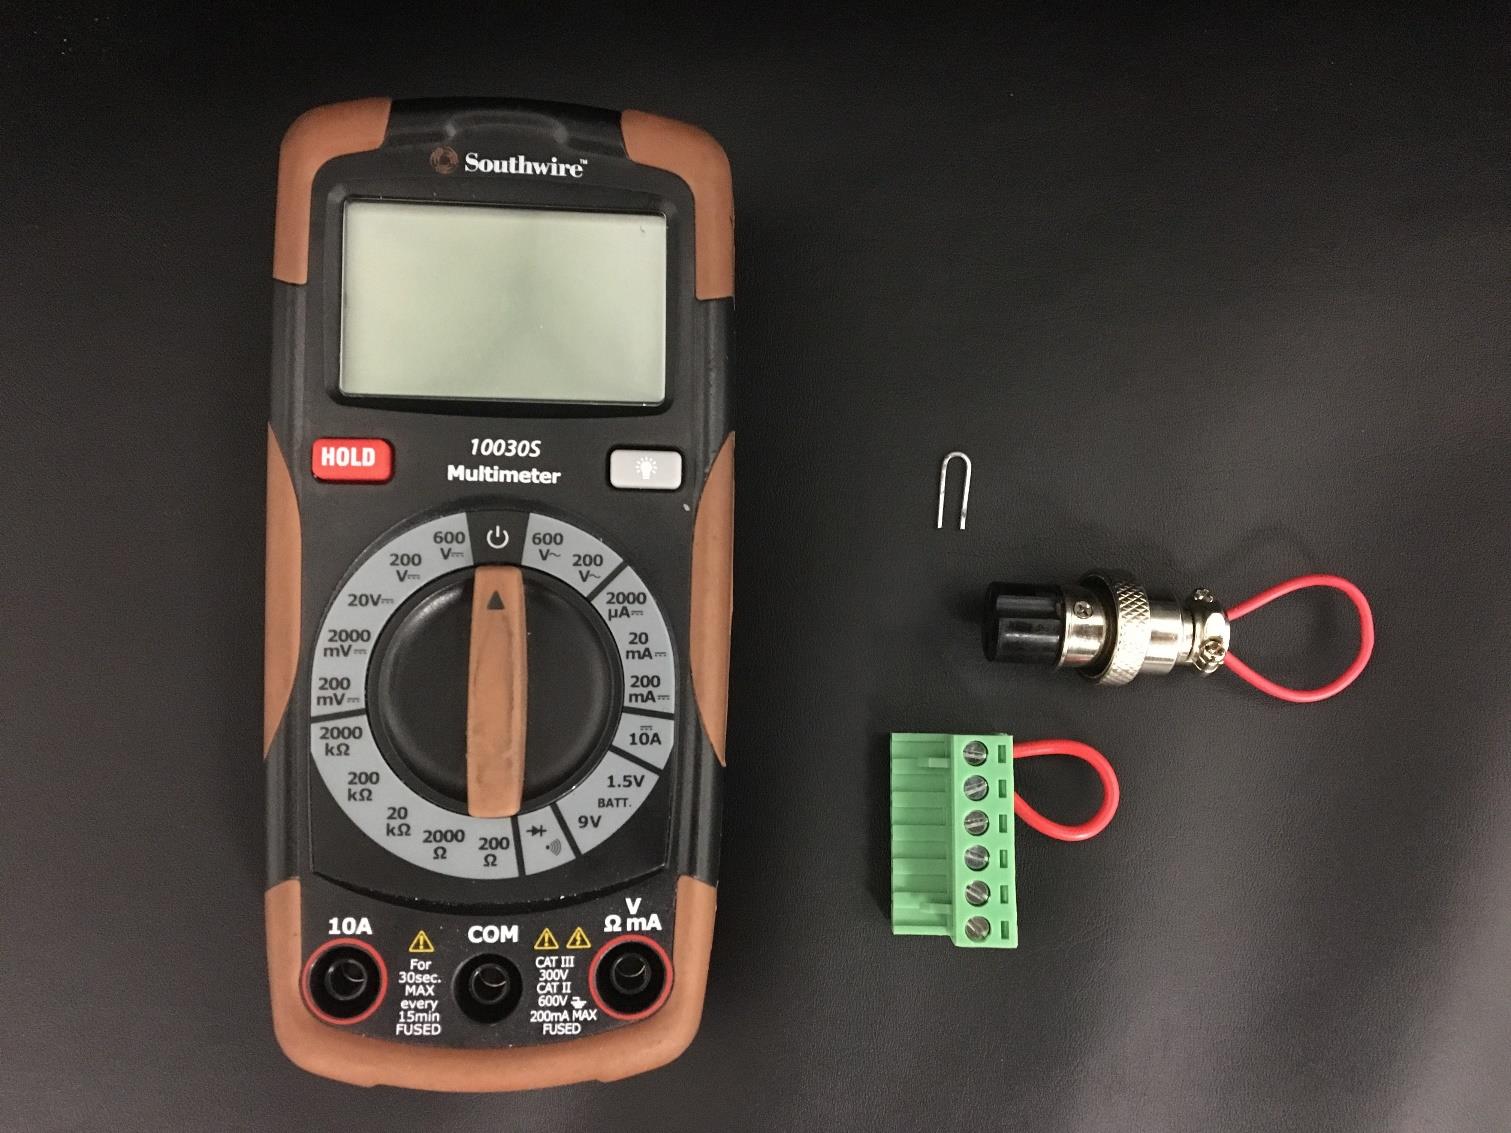
- Run the interlock testing guide.
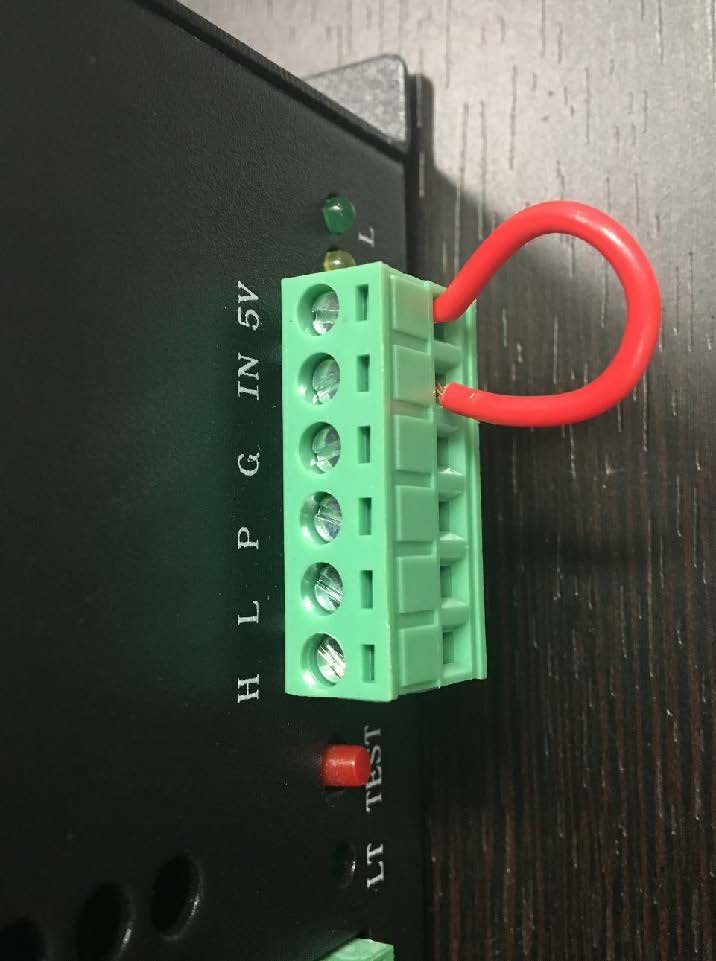
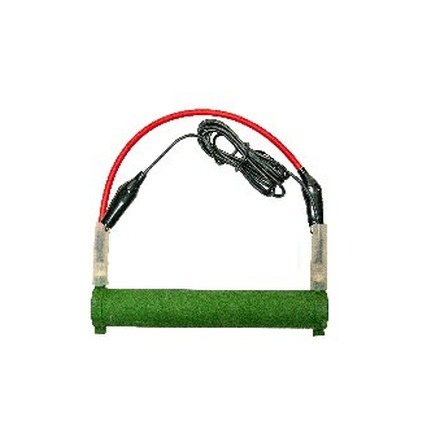
- Run the simplified resistor test if directed.

Symptom
Alignment Issues
If power varies across the bed, cuts taper, or the beam does not exit the nozzle cleanly, start here.
- Inspect mirror one, two, three, and nozzle position.
- Use the mirror alignment guide and alignment-tool instructions.
- Recheck focus only after alignment is corrected.

Symptom
Poor Engrave / Cut Quality
If engraving is dirty, cutting is inconsistent, or edges are wider than expected, isolate focus and settings first.
- Clean lens and mirrors before changing settings.
- Confirm focal depth and bed level.
- Run a controlled material test for speed, power, and air assist.
Guides & videos
Support references.
Direct support resources — not a generic blog feed. Duplicate a row for each guide or video.

Interlock Testing
Use this first when the machine does not fire and safety interlocks may be interrupting the laser.

Simplified Resistor Test
Helps isolate power-supply and tube behavior after basic safety checks.

Mirror Alignment
Step through the beam path and confirm alignment before troubleshooting focus or material settings.
Common questions
HP-5598 FAQs.
Frequent questions for this specific model.
What size material fits the HP-5598?
The HP-5598 offers a 51.18″ × 98.5″ work area. Check your build sheet for pass-through and rotary options on your configuration.
My engraving is darker on one side — what changed?
This is almost always focus height or bed level. Re-run autofocus, confirm focus height with the gauge, and level the bed front-to-back and side-to-side before adjusting power.
Which manual do I download for this model?
Use the HP Series owner’s manual and quick-start guide linked at the top of this page — one manual and guide cover the HP-5598 along with the rest of the HP line.
Need a technician?
Contact Boss Laser support.
Include your serial number, photos or video, the material being used, settings, and which quick checks you completed.
