
Here you are not cutting to a line. You are cutting to a fit.
Everywhere else on a laser, “accurate” means the part matches the drawing. In joinery and inlay it means two parts match each other — and two pieces that are each a fraction of a millimetre off in the same direction produce a joint that is a full millimetre wrong. This is the application people discover after they own the machine, and it is the one where a few known numbers replace a lot of trial and error.
Box and finger joints, slot-together assemblies, inlay pockets and inserts, layered work, and living hinges.
Kerf, the true thickness of your stock, the taper on a cut wall, and whether glue can reach clean wood.
The one thing worth knowing before anything else
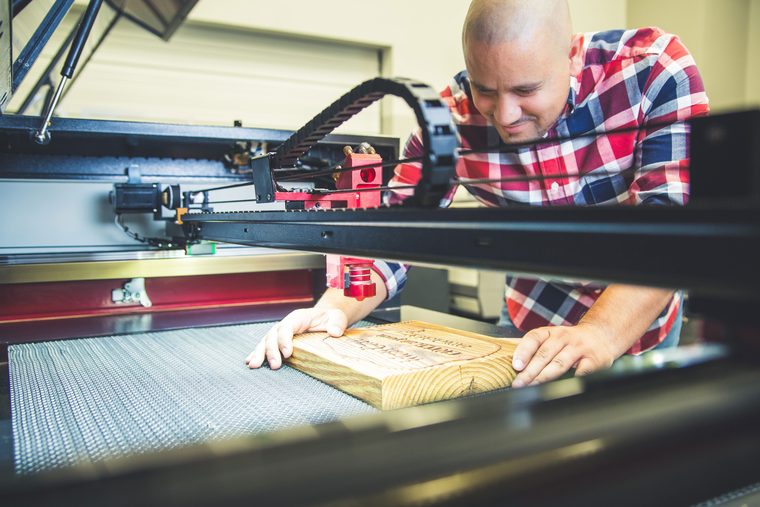
Measure your stock; never trust the label. Sheet goods are sold at nominal sizes and supplied at whatever they actually are — a board sold as 1/4″ can easily arrive at 5.2 mm rather than 6.35 mm, and it will vary between suppliers and between batches from the same supplier. Every slot, finger and tab you draw is sized to a thickness. Draw it to the nominal one and nothing fits; draw it to the calipered one and most of the problem disappears before you cut anything.


Repeatability matters more than power here. Any Boss CO₂ that holds a setting and a flat bed will do this work.
Size a CO₂ SystemThe beam takes a narrow channel of wood with it, so a part cut on the outside of its path comes out smaller than drawn by half the kerf on every edge, and a hole cut on the inside of its path comes out larger than drawn by the same amount. Cut a 10 mm peg and a 10 mm hole from one drawing and the peg rattles — not by a rounding error, but by a whole kerf width.
Inlay is the case where this hurts most, because the recess and the insert are two separate cuts pulling opposite ways:
- The pocket is an interior cut, so it finishes oversize by half a kerf all round.
- The insert is an exterior cut, so it finishes undersize by half a kerf all round.
- The gap between them is therefore a full kerf, all the way around the piece — which is exactly the visible line of shadow that separates a good inlay from an obvious one.
The fix is to compensate in the drawing: offset the pocket inward by half a kerf, the insert outward by half a kerf, or put the whole kerf on whichever of the two is easier to nudge. Software calls this kerf offset or cut compensation; the principle is the same whatever the name.
Find your kerf, then keep finding it
Draw a square of a known size, cut it in the stock you actually use, and measure the result with calipers. Drawn minus measured is the full kerf; half of it is your per-edge offset. Then re-measure whenever you change species, thickness, lens or focus — each of those moves it. Boss publishes no kerf figure for wood, and neither will we: a number measured on someone else’s birch is not a number about your birch, and a joinery page that hands you one is doing you harm.
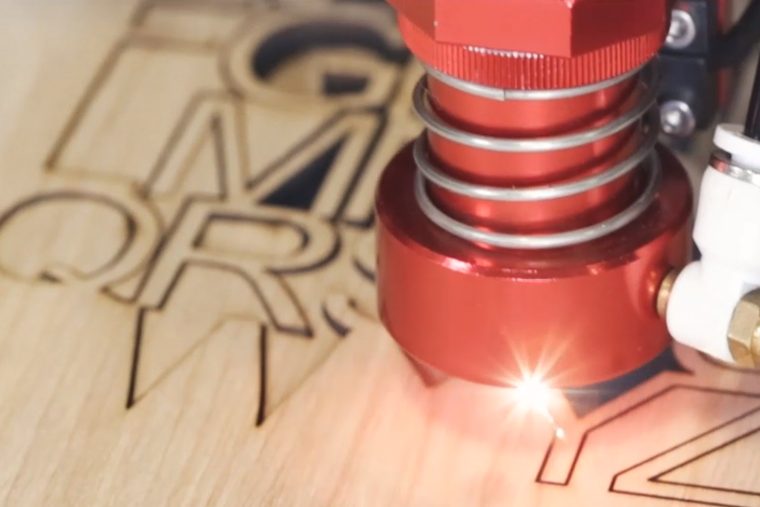
The beam is focused to a waist and diverges above and below it, so the cut it makes through a board is slightly narrower at the waist than at the extremes. The practical result is a wall with a very slight taper rather than a machined-square edge. Where the focus sits within the thickness decides where that waist lands: focused at the surface, the cut is cleanest at the top and opens out below; focused into the middle of the board, the taper is shared between the two faces.
This matters in three specific places, and almost nowhere else:
- Press-fit joints in thick stock. A tab that measures right at one face measures slightly differently at the other, so a joint that starts easy can bind, or vice versa. Test the fit at the thickness you actually use.
- Inlays. A tapered insert dropped into a tapered pocket can seat proud or sit low depending on which way round the two parts were cut. Cutting both parts face-up, from the same side, keeps the tapers consistent.
- Edge-glued panels. Two tapered edges meeting make a V-shaped glue line. For anything structural, laser-cut the shape and true the mating edge conventionally.
Lens choice trades into this as well: a shorter focal length gives a smaller spot and finer detail but a shallower depth of field, so it holds a square wall over less thickness; a longer focal length holds focus deeper through the board. The lens selection guide is where that decision is laid out properly.
Cut into the outline of each panel, so a box assembles from flat parts with no jig, no dado stack and no setup. Size the fingers to the calipered thickness of the mating panel.
Tab-and-slot displays, fixtures and flat-pack pieces that go together without fasteners. The kerf offset is what turns a rattling assembly into a snug one.
Cutting an insert and its pocket from one drawing is the technique’s whole advantage — and, with the kerf compensated, the seam can be close to invisible.
A dense field of thin cuts that lets rigid stock bend. Entirely a laser trick — and one that lives or dies on the spacing being right for that species and thickness, which means a test strip.
The glue problem nobody mentions until the joint fails
A laser-cut edge is a burnt edge. The char on it is a weak, loosely bound layer sitting exactly where you were about to put adhesive, and glue that bonds to char is bonding to something that is already coming away from the wood. For decorative work it rarely matters. For anything that has to hold, it does: minimise char at the machine first — more air assist, more speed, the least power that still severs — and clean the mating faces back to sound wood before assembly. A light scrape or sand of the joint surfaces is usually enough, and it is the difference between a box that survives being sat on and one that does not.†
† Glue behaviour on charred edges, living-hinge spacing and press-fit allowances are woodworking craft, not Boss-published specification. Boss publishes no joinery tolerances. Prove all of it on scrap of the same stock.
Joinery FAQs
Questions people ask about fitted laser-cut parts.
Nearly all of them turn out to be the same three causes wearing different clothes.
QWhy are my laser-cut joints loose when the drawing was right?
Because the drawing being right is not the same as the parts being right. The beam removes material as it travels, so an externally cut tab finishes smaller than drawn by half the kerf on every edge, and an internally cut slot finishes larger than drawn by the same amount. Cut both from one file and the two errors add up into a gap of one full kerf — which on a press fit is the whole tolerance. The fix is kerf compensation: offset the tab outward by half a kerf, the slot inward by half a kerf, or put the entire correction on whichever part is easier to change. Find your own kerf by cutting a known square in your own stock and measuring it, and re-check it whenever the species, thickness, lens or focus changes. The second cause, if compensation has not helped, is stock thickness — see the next question.
QWhy don’t my finger joints line up?
Almost always because the material is not the thickness it is sold as. Finger and box joints work by cutting slots sized to the thickness of the mating panel, so the joint is only as accurate as that figure. Sheet goods are labelled nominally and supplied actually: board sold as 1/4″ routinely arrives at around 5.2 mm rather than 6.35 mm, and it varies between suppliers and between batches from one supplier. Caliper the sheet you are about to cut, put that number in the drawing, and cut a two-finger test coupon before committing the panels. Keep a note of the measured thickness with the design, because the same file run on next month’s plywood may need a different one. If the fingers are the right size but the panels still sit out of square, check that the sheet was flat on the bed — a bowed board cuts a subtly different outline at each end.
QHow do I get an inlay to sit flush with no visible gap?
Three adjustments, in this order. Compensate the kerf in both directions — the pocket is an interior cut and finishes oversize, the insert is an exterior cut and finishes undersize, so the untouched gap between them is a full kerf all the way round. Offset the pocket inward and the insert outward by half a kerf each and the seam closes. Cut both parts face-up from the same side, so the slight taper on each cut wall runs the same way and the insert seats level rather than wedging or dropping. Allow for the char, which is a real thickness on the mating faces and also a barrier to glue — ease it back with a light scrape and the piece drops in cleanly. If you want the seam to vanish completely, choose the insert species for tone as well as fit; a pale maple inlay in walnut hides a line that the same fit in a matching species would show.
QDoes laser char stop wood glue from holding?
It weakens the joint, and on anything structural that is enough to matter. A laser-cut edge is a burnt edge, and the char on it is a friable layer only loosely attached to the wood beneath. Glue applied to it bonds to the char rather than to sound fibre, so the joint fails by the char letting go rather than by the adhesive failing. Two steps fix it. First, make less char in the first place — more air assist, more speed, the least power that still cuts through, which is the same recipe that keeps edges clean for every other reason. Second, clean the mating faces before assembly: a light scrape or sand back to fresh wood on the surfaces that will be glued, leaving the visible outside edges alone if you like the burnt look. For decorative pieces that are never stressed, you can skip it; for a box that will be picked up by its lid, do not. Boss publishes no guidance on adhesives, so treat this as ordinary woodworking practice and test it on the stock you use.
QCan a laser cut a living hinge, and how do I get the spacing right?
Yes — a living hinge is a field of fine slits cut through a rigid board so it can flex, and it is one of the few things that is genuinely easier on a laser than by any other method. The catch is that the spacing is specific to that species at that thickness, and there is no universal pattern: too dense and the piece is floppy and fragile, too sparse and it cracks on the first bend. Nobody can hand you a number because the working range depends on the fibre length and density of the wood in front of you, which is why the reliable approach is a test strip — cut the same pattern at several spacings on a single offcut, bend each one, and keep the one that survives. Expect plywood to behave differently from solid stock of the same thickness, because the cross-banded plies resist in different directions. Treat the result as a property of that board and re-test when the stock changes.
Sources
The air-assist and char guidance, the refocus rule and the USB test files come from the Boss HP Series User Manual; the settings referenced elsewhere in this section are from Boss’s BL2-T83 CO₂ material settings charts. Everything on this page about kerf offsets, fit allowances, taper, glue on charred edges and living-hinge spacing is settled woodworking and laser-shop craft, not Boss-published specification — Boss publishes no kerf figure and no joinery tolerance, which is why this page gives you a method for measuring your own rather than a number to copy. Items marked † are flagged on that basis.
Still deciding?
Bring us the assembly, not just the part.
If what you make goes together rather than just gets cut out, tell a specialist the stock, the thickness and how many sets a week. Repeatability and bed size decide this work far more than wattage does.