
A sign is judged from six feet away and from six inches, and it has to survive both.
Signage is where the two halves of wood work meet: the lettering is engraved or cut, the shape is cut, and then almost everything that makes the piece look expensive happens after the machine stops. This page is mostly about that second half — paint fill, edges, panels bigger than the bed, and what actually holds up outdoors.
Signs, plaques, awards, wayfinding and dimensional lettering — plus paint fill and finishing.
Which of the three construction methods you pick, the typography, the bed size, and the finish schedule.
The one thing worth knowing before anything else
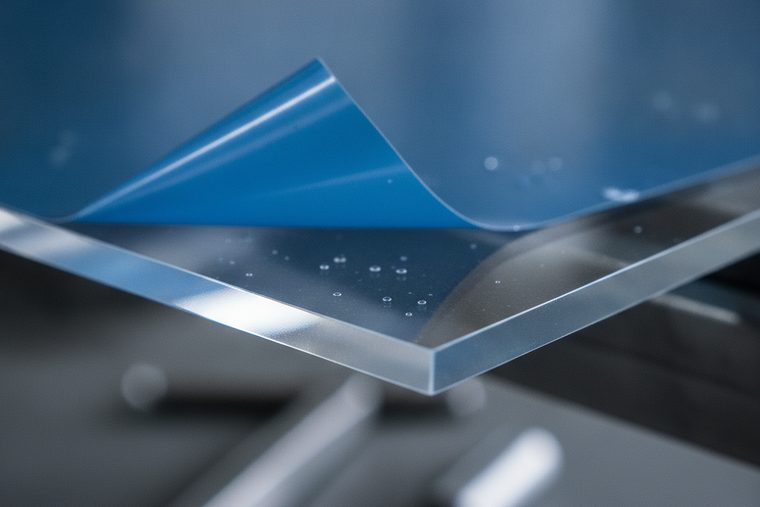
Mask the face before you engrave, and paint fill stops being difficult. Low-tack transfer tape over the panel does three jobs at once: it keeps smoke residue off the surface, it gives you a perfect paint stencil the moment the laser has burnt the artwork through it, and it peels away carrying both. Shops that fight paint fill are almost always the ones trying to paint an unmasked board and then clean up the overspill.†
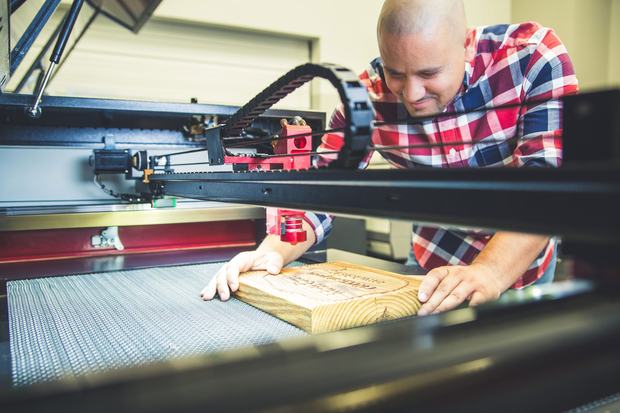
Signage is the clearest bed-size argument on the site. Pick the machine by the largest panel you want to make in one piece.
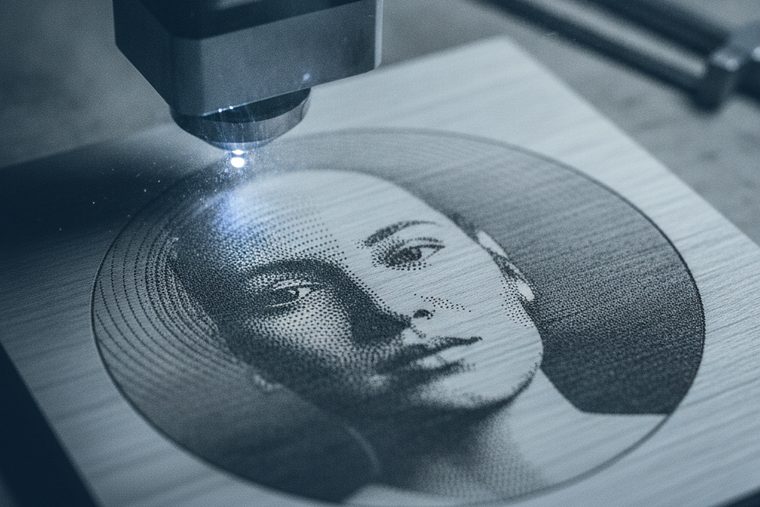
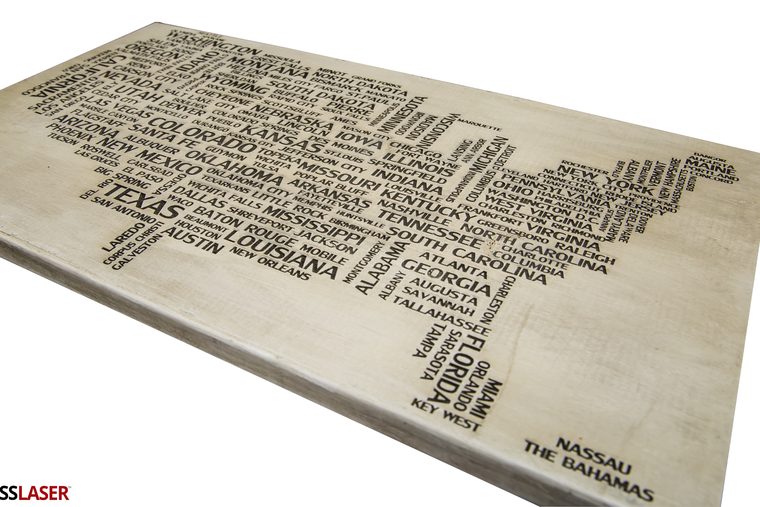
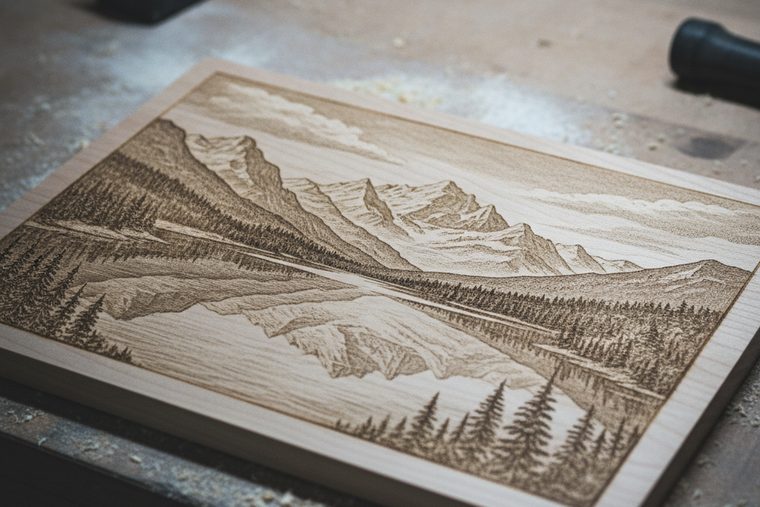
Size a CO₂ SystemThe lettering is burnt into a solid panel. Fastest to make, nothing to assemble, and the recess is ready to take paint. The limit is contrast: on dark stock an engraved letter barely reads until it is filled.
Letters cut as separate pieces and mounted on a backer or a wall. This is how you get genuine dimension and shadow, and how you mix materials — pale letters on a dark board. Slowest, because every letter is a part to handle.
The whole plaque is cut to an outline and engraved in one job. The default for awards, door signs and gift work, and the one that most rewards masking.
Typography is a manufacturing decision here
Two things go wrong with lettering, and both are chosen in the artwork rather than fixed at the machine. Engraved text fills in when it is small: the beam has a physical width, so the counters — the enclosed spaces in a, e, o, 8 — close up and a line of 6 pt type turns into a dark smear. Cut text breaks when the strokes are thin: a hairline serif or a script with fine connectors produces letters that snap on the way off the bed. The answers are the same in both cases — heavier weight, larger size, or a face with less contrast between thick and thin. Prove the smallest text in the design on a scrap before you cut fifty.
The masked paint-fill sequence
- 1 · Mask the face with low-tack transfer tape, smoothed down with no bubbles over the artwork area.
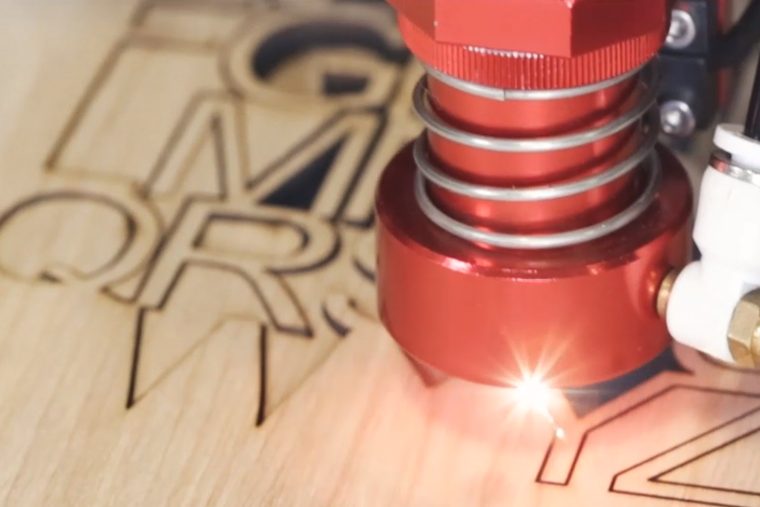
- 2 · Engrave through the mask. The laser burns away the tape exactly where the artwork is and engraves the wood beneath. You now have a stencil that is registered perfectly, because it was cut in place.
- 3 · Paint the whole masked face. Thin coats. Spray is easiest; a roller or brush works. The paint only reaches wood where the mask is gone.
- 4 · Peel while the paint is still fresh enough to break cleanly at the mask edge. Too dry and it can lift or tear along the line.
- 5 · Finish as normal. Light sand of the unpainted surface, then your sealer or topcoat.
The same method fills a cut line as well as an engraved one, which is how inlaid-looking coloured rules and borders are done without any inlay.†
Painting cut edges
A cut edge is a burnt edge, and paint on char behaves like everything else on char — it sits on a layer that is only loosely attached to the wood. For edges that will be handled or that matter visually, ease the char back first with a light sand, then seal the edge before colour: cut edges are open end grain and drink far more paint than the faces do, so an unsealed edge takes several coats to stop looking patchy. If the burnt edge is the look you want — and on a lot of rustic signage it genuinely is — leave it, but seal it, or it will transfer onto hands and walls.†
Outdoors is a finish question, not a laser question
Nothing the laser does makes a sign weatherproof. An engrave is a shallow recess in the surface; rain, UV and freeze-thaw treat it exactly as they treat the rest of the board, and porous engraved areas hold water longer than the sealed face around them. What survives outside is decided by the species, the finish schedule and the maintenance — the same three things that decide the life of any exterior woodwork. Boss publishes no weathering data and neither will we; talk to a finish supplier about the exposure, and expect an exterior wood sign to need recoating on a cycle rather than to last untouched.†
† Masking, paint fill, edge sealing and exterior finishing are ordinary sign-shop and woodworking craft. Boss publishes no procedure or product recommendation for any of them. Test every material on a scrap of the same stock — paints, tapes and sealers behave differently on different species and over engraved recesses.
Signage runs into the bed before it runs into the wattage, and it does so early — a 24″ plaque is a modest sign and a large workpiece. There are three ways out, and they are not equally good:
- Buy the bed. The clean answer. On wood, a bigger tube mostly buys speed, whereas a bigger bed buys work you could not take at all. If you are choosing between more watts and more table, signage is the application that argues for the table.
- Design in panels. Split the sign into pieces that assemble, with the joint made a deliberate feature — a border, a change of material, a shadow gap. This is normal practice in signage and nobody reads it as a compromise when it is designed in rather than patched in.
- Pass the work through. Some machines allow long stock to pass through the cabinet so a piece longer than the bed can be run in stages. It solves length, not width, and it depends on the model — check the specification for the machine you are considering rather than assuming it.
The sizing conversation worth having
Tell a specialist the largest single piece you want to make and how often you would make it. That one answer settles the bed size, and the bed size settles most of the rest. A shop that makes one oversized sign a year is better served by panelling that job than by buying a machine for it; a shop that turns one away every month is losing more than the machine costs.
Signage FAQs
Questions people ask about laser-cut signs and plaques.
Mostly about what happens after the laser stops, because that is where signage is won.
QHow do you make a laser-cut wood sign?
Pick one of three constructions first, because everything else follows from it. Engrave into a solid panel for the fastest piece with nothing to assemble — the lettering is a recess, ready to take paint. Cut the letters out separately and mount them for genuine dimension and shadow, and for pale letters on dark stock. Or cut the plaque to shape and engrave its face in the same job, which is the usual answer for awards, door signs and gift work. Then: caliper and flatten the board, mask the face with transfer tape, focus for the thickness, engrave and cut with air assist on, paint-fill through the mask if the design calls for it, peel, sand lightly and finish. The two decisions that most affect whether it looks professional are made before the machine runs — the typography being heavy enough to survive at size, and the panel being masked.
QHow do I paint laser-cut and laser-engraved wood?
Use the mask as the stencil and the job becomes easy. Cover the face with low-tack transfer tape before engraving; the laser burns the tape away exactly where the artwork is, so you are left with a perfectly registered stencil that was cut in position. Paint the whole masked face in thin coats — only the engraved areas are exposed — and peel the mask while the paint is still fresh enough to break cleanly at the edge rather than lifting in a sheet. Cut edges need different treatment: they are burnt and they are open end grain, so ease the char back with a light sand, seal them, and only then colour, or they drink paint and stay patchy. If you are painting an unmasked engrave, expect to spend the time you saved cleaning overspill out of the surrounding grain. All of this is sign-shop craft rather than Boss-published procedure, so prove the paint, the tape and the sealer on a scrap of the same stock first.
QHow do I colour or fill engraved lettering?
Filling the recess is how you get high contrast on stock that will not give it naturally — and the darker the board, the more you need it, because an engrave into walnut is a brown mark on a brown background. The masked paint-fill sequence above is the reliable route for flat colour. For a subtler effect, a pigmented wax or an oil-based stain rubbed into the engrave and wiped back off the surrounding surface will colour the recess only, because the engraved area is open and absorbent while the surface is not — which works best if the face has been sealed first so it resists the colour. For metallic or gilded lettering, fill the recess rather than trying to coat the face. Whichever route you take, the engrave has to be deep enough to hold the fill: a very shallow mark gives the pigment nowhere to sit and it wipes straight back out.
QWhat if my sign is bigger than the laser bed?
Three options, in descending order of how well they usually work. Buy the bed — on wood, a larger table buys you jobs you could not otherwise accept, whereas a bigger tube mostly buys speed, so signage is the application that argues hardest for table over watts. Design the sign in panels that assemble, with the joint made a deliberate feature such as a border, a change of material or a shadow gap; this is ordinary signage practice and reads as a design choice when it is planned rather than patched. Pass long stock through the machine where the model supports it, running the piece in stages — that solves length but not width, and it is model-specific, so check the specification rather than assuming. The useful thing to tell a specialist is the largest single piece you want to make and how often, because that one answer settles the bed size and the bed size settles most of the rest.
QWill a laser-engraved wood sign survive outdoors?
Only as well as the wood and the finish do — the engraving itself contributes nothing to weather resistance. An engrave is a shallow recess in the surface, and an exposed board weathers the same way whether or not there is artwork burnt into it. If anything, engraved areas are slightly more vulnerable, because they are open, absorbent and hold water longer than the sealed face around them. Everything that determines the life of the sign is the same as for any exterior woodwork: a species suited to outdoor use, a proper finish schedule applied to all faces and edges including the engraved recesses, and recoating on a cycle. Paint-filled lettering generally lasts better outdoors than bare engraving, because the fill seals the recess and gives the contrast that weathering would otherwise wash out. Boss publishes no weathering or exterior-finish data, so the specifics are a conversation with a finish supplier who knows your climate and exposure.
Sources
The settings, focus, power-limit and air-assist behaviour referenced on this page come from Boss’s BL2-T83 CO₂ material settings charts and the Boss HP Series User Manual — first-party Boss data, set out in full on the wood category page. Everything marked † — masking and paint fill, edge sealing, colour fill, and exterior finishing — is ordinary sign-shop and woodworking craft with no Boss-published procedure or product recommendation behind it, and is labelled rather than presented as specification. Pass-through capability is model-specific; check the specification of the machine you are considering.
Still deciding?
Tell us the biggest sign you want to make.
One panel or assembled, how often, and in what stock. Signage is the clearest bed-size question we get, and a specialist will say plainly when panelling the occasional oversized job beats buying a machine for it.