
A mirror is two materials, and you choose which one to engrave.
A mirror is a sheet of glass with a reflective layer and a protective paint on the back. Engrave the front and you are frosting glass, exactly as on any glass panel. The reflection behind the frost doubles it into a soft shadow. Engrave the back and you are removing the paint and the silvering, leaving a clear window you look at through the glass. That gives the mark its depth, and it is the way Boss publishes settings for. Nearly every decision on a mirror job follows from that choice, including one that catches almost everyone the first time: back-side artwork has to be reversed.
Decorative and signage mirrors, bar and venue mirrors, personalised gifts, and back-painted or backlit designs.
Which side you engrave, whether the artwork is reversed, and what is actually on the back of the mirror you bought.
The one thing worth knowing before anything else
A CO₂ beam does not pass through glass. Glass absorbs the 10.6 µm wavelength at its surface, which is exactly why a CO₂ laser frosts it. So a front-side engrave only ever marks the front of the glass. It cannot reach the silvering behind. To work on the reflective layer, turn the mirror over and engrave the backing directly. That is what Boss’s mirror row is for, and it is why that row has its own line in the chart.
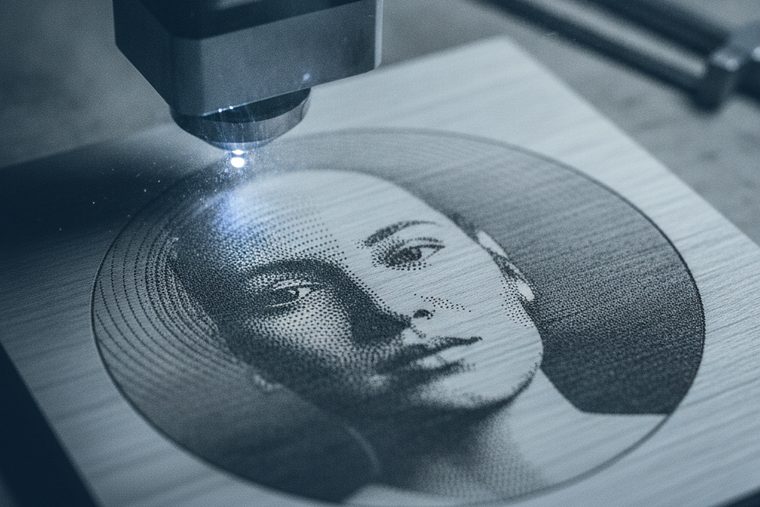

A CO₂ engraver with a bed large enough for the biggest mirror you’ll lay flat, and extraction for the backing paint.
Size a CO₂ System| Job | Power % at 70 W / 105 W / 155 W | Speed | Notes |
|---|---|---|---|
| Mirror — engraved from the back | 30 / 20 / 15 | 325 mm/s | Removes backing paint and silvering; scan gap 0.065 mm |
| Glass — engraving | 27 / 25 / 20 | 325 mm/s | The frosting row; scan gap 0.065 mm |
Boss publishes its mirror row for back-side work. It does not publish a separate front-side mirror row. A front-side engrave is a glass frost, so the glass row is the natural place to start testing, and we are labelling that as our reading, not Boss’s figure. Higher-wattage tiers need a lower percentage for the same result. Mirror stock varies by maker in its backing paint, so prove the settings on an offcut before the real piece.
| Back-side engraving | Front-side engraving | |
|---|---|---|
| What the beam removes | The protective paint and the reflective layer | A shallow layer of the glass surface, which frosts |
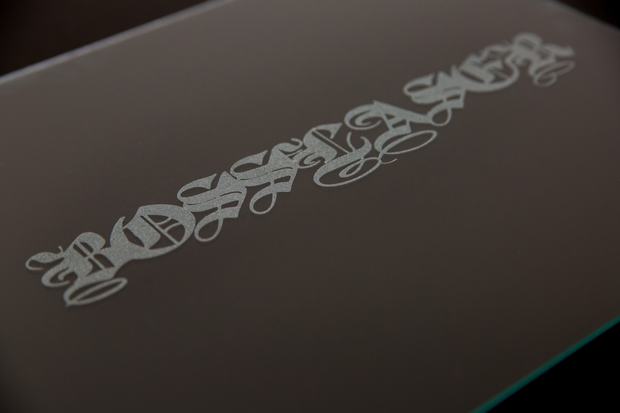
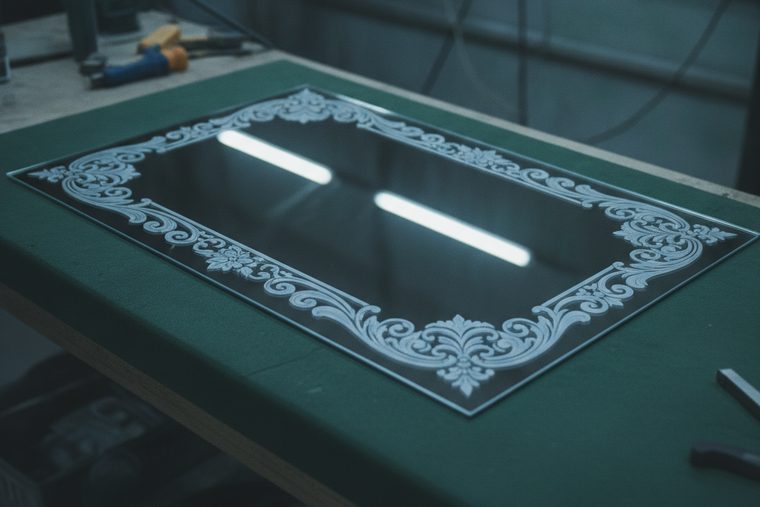
| What you see | A clear, non-reflective design seen through the glass, with real depth | A white frost, doubled by the reflection behind it into a soft shadow |
| Artwork | Must be reversed, because it is viewed from the other side | As drawn |
| The surface people touch | Stays smooth, untouched glass | Frosted, and it picks up fingerprints and grime |
| Colour | The cleared area can be back-painted or backlit | Frost only, unless you colour-fill it |
| Risk | You are vaporising a paint system. Extraction applies | Chipping, as on any glass |
Back-side is usually the better product for a mirror that will hang on a wall, because the front stays a clean mirror surface and the design reads as if it sits inside the glass. Front-side is quicker to set up, needs no reversed artwork, and suits pieces meant to be touched or seen at an angle, where the shadow effect is part of the appeal.
Reverse the artwork before anything else. A back-side engrave is read from the front, so text and logos must be flipped horizontally in the file, or the finished mirror reads backwards. It is the same mistake as an unmirrored rubber stamp, and people make it exactly once. A cheap check is to run the job at very low power on a scrap of the same mirror and read it from the front before committing the real piece.
Then decide what the cleared area becomes. Where the beam has removed the backing, you have clear glass, and whatever sits behind it is what the viewer sees:
- Nothing. The design reads as a dark, see-through shape in the mirror, taking on the colour of the wall behind it.
- Back-paint. Paint over the cleared area from the back. The colour shows through the glass, protected by it, which is how most coloured mirror signage is made.
- Light. Mount the mirror in front of an LED panel or strip and the cleared design glows while the rest stays a mirror. This is the basis of backlit bar signs and illuminated mirrors.
Clear the whole layer, evenly. A back-side engrave that leaves traces of silvering looks patchy from the front. If the cleared area shows streaks, look at focus and evenness of power across the bed before raising power. A second light pass is usually better than one heavy pass that risks heat stress in the glass.
Glass, a reflective layer and a protective backing paint. This is what Boss’s back-side row describes. Backing paints differ between makers, so treat the first sheet from a new supplier as a test.
Many mirrors for doors, wardrobes and bathrooms carry a plastic safety film bonded to the back, so broken glass stays in place. A back-side engrave means lasering that film. Find out what polymer it is before you do. If the supplier can’t say, engrave from the front or buy unbacked stock.
Some furniture and door mirrors are tempered glass. Tempered glass carries built-in stress, and disturbing its surface can shatter the whole panel. The site’s rule applies unchanged: if it isn’t confirmed annealed, treat it as tempered and don’t run it.

Mirror engraving FAQs
Questions people ask about engraving mirrors.
Most of them come down to which side of the glass you are working on.
QCan you laser engrave a mirror?
Yes, on a CO₂ laser, in two different ways. From the back, the beam removes the protective paint and the reflective layer, leaving a clear design you look at through the glass, with real depth. Boss publishes this as its own row: 30% / 20% / 15% at 325 mm/s on the 70 / 105 / 155 W tiers. From the front, the beam frosts the glass surface like any glass engraving, and the reflection doubles the frost into a soft shadow. Back-side work needs reversed artwork. Front-side work doesn’t. Before either, check what is on the back of the mirror: a plastic safety film or tempered glass changes the answer.
QShould I engrave a mirror from the front or the back?
For a mirror that will hang on a wall, usually the back. The front stays a smooth, clean mirror surface. The design sits behind the glass, where nothing can scratch or smudge it. And the cleared area can be back-painted or backlit. Front-side engraving is quicker to set up, needs no reversed artwork, and gives a frosted design with a shadow from the reflection behind it. That suits pieces seen at an angle, or where the doubled look is the point. The trade-off is that a frosted front picks up fingerprints and grime, and like any glass frost it can chip if the power is too high. Boss’s published mirror row is for back-side work. A front-side engrave is a glass frost, so start testing from the glass row.
QWhy did my mirror engraving come out backwards?
Because it was engraved from the back without reversing the artwork. A back-side engrave is read from the front, through the glass, so everything in the file must be flipped horizontally first. Text and logos read backwards otherwise, and symmetrical designs hide the mistake until the one asymmetrical detail shows up. The cheap insurance is to run the job at very low power on a scrap of the same mirror and read it from the front before committing the real piece. If the mirror is engraved on the front, don’t reverse it. Flip only for back-side work.
QCan you add colour to a laser-engraved mirror?
Yes, and this is one of the main reasons to engrave from the back. Once the beam has cleared the backing, the design is a clear window in the mirror, and whatever you put behind it is what the viewer sees. Paint the cleared area from the back and the colour shows through the glass, protected by it, which is how most coloured mirror signs are made. Backlight it with an LED panel or strip and the design glows while the rest stays a mirror, the basis of backlit bar signs and illuminated mirrors. A front-side frost can be colour-filled too, but the fill then sits on the surface people touch.
QIs it safe to laser the back of any mirror?
Not any mirror. Check what you have first. A plain mirror has a protective paint over its reflective layer, and you are vaporising that paint, so run extraction as you would for any coating. Many door, wardrobe and bathroom mirrors also carry a plastic safety film bonded to the back. A back-side engrave means lasering that film, so find out what polymer it is before you do, and if the supplier can’t say, engrave from the front or buy unbacked stock. Some furniture and door mirrors are tempered glass, and the site’s rule is absolute: if it isn’t confirmed annealed, treat it as tempered and don’t run it, because a tempered panel can shatter. When in doubt, ask the supplier for the SDS.
Sources
The mirror and glass power, speed and scan-gap figures are transcribed from Boss’s own BL2-T83 CO₂ material settings charts (70 / 105 / 155 W tiers), which is first-party Boss data. Boss publishes its mirror row for engraving from the back. It publishes no front-side mirror row, so the suggestion to start front-side tests from the glass row is our reading, labelled as such. That glass absorbs the CO₂ wavelength at its surface is established physics, and it is the basis of every glass page on this site. The tempered-glass rule is this site’s, from Learn: Glass. Reversed artwork, back-painting, backlighting and safety-backing films are settled trade practice, not Boss specification.
Still deciding?
Tell us the largest mirror you’ll engrave.
Mirror work is sized by the biggest sheet you need to lay flat in one piece. A specialist will match the bed to it, and to the rest of the glass, stone and drinkware you plan to run.