
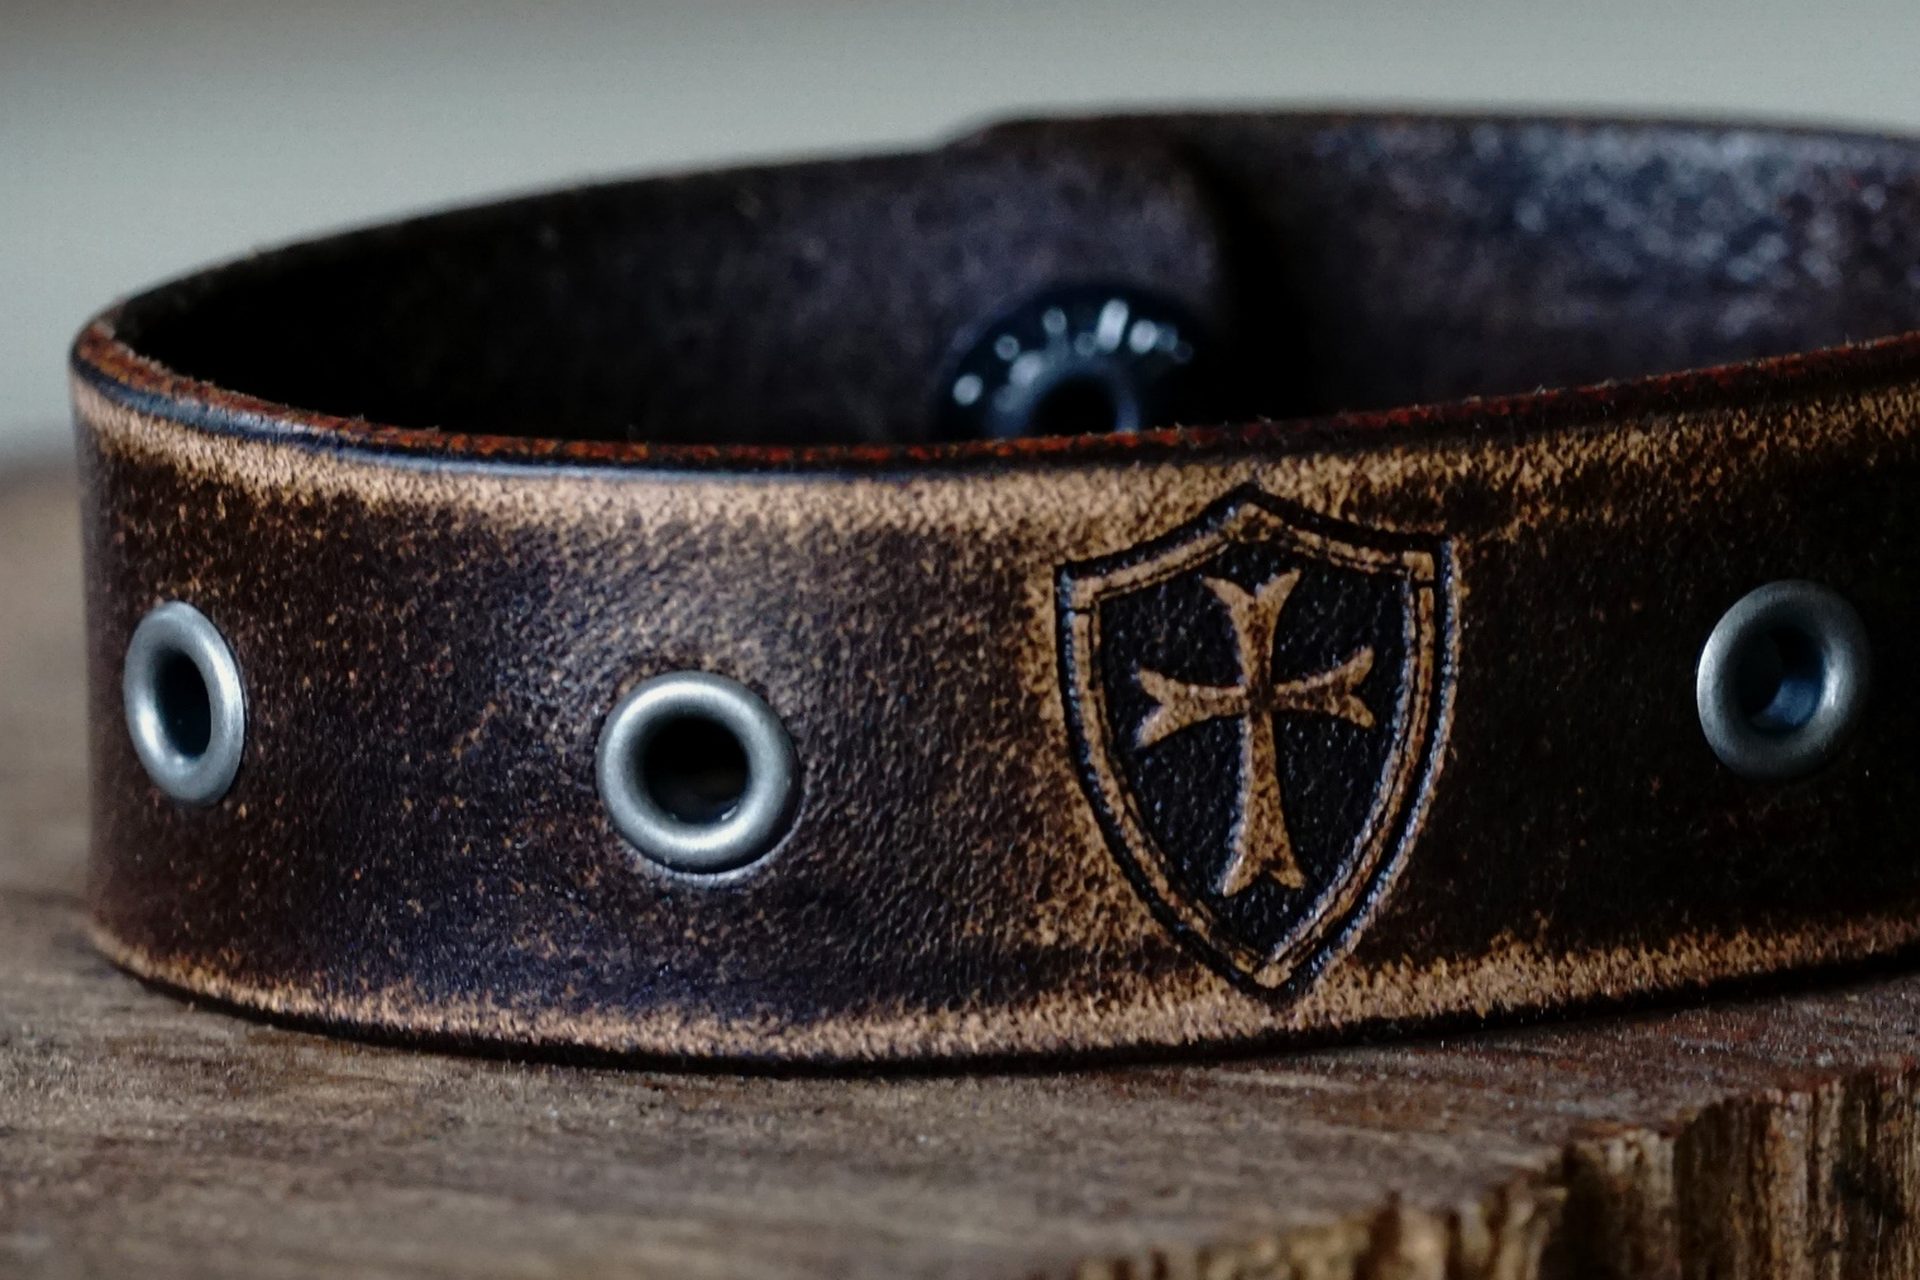
Leather is a skin, not a sheet. It is not the same thickness twice.
Acrylic arrives flat and uniform. Plywood is at least consistent across one board. A hide is an animal — thick across the shoulder, thin and stretchy at the belly, and different again where it was scarred while the animal was alive. Every setting on this page is a starting point that you will re-prove as you move across the skin, and that is the craft rather than a failing of the machine.
Cutting and engraving natural leather — settings, how tannage changes the result, and the cleaning and sealing that happen afterwards.
Tannage, hide thickness and its variation, focus, air assist, masking, and extraction.
The one thing worth knowing before anything else
Engraving and cutting sit a long way apart on leather — further than on almost any other material. Boss publishes 25/18/15% for engraving and 85/75/70% for cutting. That is a gap of roughly sixty percentage points, and it is good news: it means a surface mark and a through-cut are unlikely to be confused, and there is a lot of usable room in between for scoring, deep marks and partial cuts. It also means a setting that marks beautifully will not come close to cutting, so do not creep toward a cut — change the job.

A CO₂ sized to your hide, not to your wattage. Leather asks less of a laser than almost anything else on this site.
Size a CO₂ System| Job | Power % at 70 W / 105 W / 155 W | Speed | Notes |
|---|---|---|---|
| Engraving | 25 / 18 / 15 | 350 mm/s | Scan gap 0.065 mm |
| Cutting | 85 / 75 / 70 | 10–15 mm/s | Single pass at 1/8″ |
Read the power column as a wattage trade: the same job needs a lower percentage on a bigger tube. On the multi-speed cutting row the faster end pairs with the higher wattage. Note the engraving speed — 350 mm/s against 10–15 mm/s for cutting. Surface work on leather is fast; through-cuts are not.
Why the same setting gives two different results on one hide
The focal point sits a fixed distance below the lens, so the beam that reaches the surface depends on where that surface is. A hide is not flat and not uniform: shoulder is thicker than belly, a skin curls as it dries, and a piece cut from one part of the animal can be half the thickness of a piece cut from another. Focus set on the thick part is wrong on the thin part, and the symptom is exactly what people report as a machine problem — a cut that severs at one end of the pattern and leaves a tag at the other.
Two habits remove most of it: weight or tape the hide genuinely flat before the job, and re-prove the setting per skin rather than per species. Not “this is veg-tan, so 80%” — this hide, this thickness, today.
The rules underneath the numbers
- Leather burns; it does not melt. That matters for how you fix things. When an edge comes out dark and stiff, the answer is to remove heat — more speed, more air, less power — never more force. Synthetic fabric melts and seals; leather chars and hardens. Different materials, different repair.
- Stay between 5% and 95% power. Below roughly 5% the tube will not fire; above 95% you spend tube life for very little extra cut. If a hide needs more than 95%, it needs a slower pass, not a higher number.
- Refocus for every new material — and on leather, for every new hide.
- Air assist and extraction are not the same job. Air blows the plume out of the cut so it cannot shield the beam or film the lens. Extraction pulls fumes out of the machine and away from you. Leather is the smelliest common laser material, and this is the category where the extraction half genuinely matters.
The reference material for laser work. Pale, firm, and it darkens richly where the beam touches it, so an engrave reads as genuine tonal contrast rather than a scuff. If you want an engraved photograph or fine artwork to carry, this is the hide to buy.
Softer, usually dyed through, and far more common in garment and upholstery work. It runs — but it can release chromium compounds, so extraction stops being a comfort measure. Pre-dyed dark hide also gives you much less engraving contrast, for the same reason a dark board does.
Surface treatments sit between the beam and the leather and behave like any other coating: they can discolour, bloom or go tacky around the mark. Test the actual finished hide, not an unfinished offcut of the same species.
Before the hide goes on the bed
The hard question in this category is not a setting, it is what the material actually is — because “vegan leather” is a shelf label covering both PU, which runs, and PVC, which must never go in a laser at any setting. That whole decision, with a material-by-material table, lives on the category page rather than being restated here.
A laser cuts leather by burning through it, so the piece that comes off the bed carries residue. As with wood, two different marks get confused and they have different answers:
- Smoke residue sits on the surface around the cut or engrave, usually as a grey-brown haze. It is deposit, and it can be lifted.
- Char is burnt leather in the cut edge itself. It is not deposit, it is the material, and no amount of cleaning removes it — you prevent it at the machine or you burnish it back.
Preventing the first one is far easier than removing it
Masking the surface is the single highest-value habit on this page. A layer of low-tack transfer tape over the face takes the smoke haze with it when you peel it, and on pale veg-tan it is the difference between a clean piece and a grubby one that no amount of wiping rescues.† Raising air assist and speed does the rest, because residue is mostly plume that was allowed to settle.
When the piece is already marked
For residue on a finished piece, the ordinary leatherwork answers apply and the ordinary leatherwork cautions come with them: work from the gentlest option upward, test on an offcut of the same hide first, and expect dyed and finished leather to react differently from bare veg-tan. Edge char on a cut line is usually burnished rather than cleaned — the traditional finishing step for a leather edge — which compresses and smooths it into something that reads as intentional. Boss publishes no cleaning procedure for leather, and neither will we invent one: what follows is craft, not specification.†
Sealing and conditioning
An engraved recess is opened-up leather. It takes finishes, dyes and conditioners more readily than the sealed surface around it, which is why an oil or a dye applied after engraving tends to go darker in the artwork than on the face. That is often the effect people want and occasionally a surprise. If you want the mark and the surface to finish evenly, seal first and engrave after — and if you want maximum contrast, do the reverse. Either way, prove it on the same hide, because absorption varies by tannage far more than by product.†
† Masking, residue removal, edge burnishing, sealing and conditioning are settled leatherwork craft, not Boss-published procedure — Boss publishes no finishing or cleaning method for laser-cut leather. Test every product on a scrap of the same hide; solvents and conditioners behave very differently on veg-tan, chrome-tanned and finished leather.


Leather FAQs
Questions people ask about cutting and engraving leather.
Mostly about what happens after the beam stops, because that is where the piece is won or lost.
QCan you laser engrave leather?
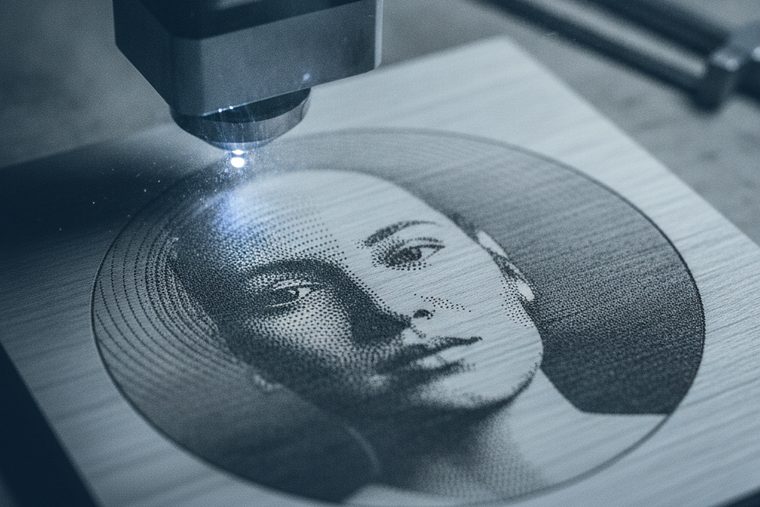
Yes, and leather is one of the better materials for it — the beam darkens the surface, so you get genuine tonal range rather than the on-or-off frost you get on glass. Boss publishes 25% / 18% / 15% power at 350 mm/s with a 0.065 mm scan gap on its 70 / 105 / 155 W tiers, which is a very gentle setting: surface work on leather is fast and cheap in energy terms. What decides the result is the hide rather than the machine. Vegetable-tanned leather gives the most contrast, because it is pale and darkens richly. Chrome-tanned hide that has been dyed dark gives far less, for the same reason a dark board engraves flat. Test on the same skin you are going to use, not just the same species, because thickness and finish vary across a single hide.
QHow do I clean leather after laser cutting or engraving?
Separate the two marks first, because only one of them is cleanable. Smoke residue is deposit sitting on the surface around the cut — a grey-brown haze that can be lifted. Char is burnt leather in the cut edge itself; it is the material, not a deposit, and nothing removes it. For residue, the real answer is prevention: mask the face with low-tack transfer tape before the job and peel it afterwards, and the haze leaves with the tape. On pale veg-tan that single habit is the difference between a clean piece and a grubby one. For a piece already marked, work from the gentlest option upward and test on an offcut of the same hide first — dyed and finished leather reacts very differently from bare veg-tan, and an aggressive cleaner can lift colour along with the soot. Boss publishes no cleaning procedure for leather, so treat all of this as leatherwork craft rather than specification.
QHow do I get burn marks off laser-cut leather?
If the mark is a halo on the face, that is smoke residue and the previous answer applies — and masking would have prevented it. If the darkness is on the cut edge itself, that is char, and the traditional answer is not cleaning but burnishing: the standard leatherwork finishing step, which compresses and smooths the edge into something that reads as deliberate rather than accidental. Many makers stop trying to remove edge char entirely once they realise a burnished edge looks better than a raw one. To get less of it in the first place, go back to the machine and take heat out — raise air assist, raise speed, drop power to the least that still severs. Adding power to a charring problem makes it worse on leather exactly as it does on wood.
QHow do I seal or condition leather after engraving?
Remember what an engrave is: opened-up leather. The engraved recess is more absorbent than the sealed surface around it, so oils, dyes and conditioners go into it more readily and it finishes darker than the face. That is usually attractive and occasionally a surprise. If you want the artwork and the surface to finish evenly, seal first and engrave afterwards; if you want maximum contrast, engrave first and finish after. For pieces that will be handled — wallets, straps, patches — sealing also stops the engrave collecting dirt and going muddy over time. Prove the schedule on the same hide before a finished piece, because absorption varies by tannage far more than by product, and a conditioner that behaves on veg-tan can bloom on a finished chrome-tanned skin.
QDoes veg-tan behave differently from chrome-tanned leather?
Considerably, and it is the most useful distinction in this category after PU-versus-PVC. Vegetable-tanned leather is pale and firm, and it darkens richly under the beam — which makes it the reference material for engraved artwork and the reason most laser-cut leather goods you have admired were made from it. Chrome-tanned leather is softer, usually dyed through, and dominates garment and upholstery work; it cuts and engraves, but a dark dyed hide gives you much less contrast to work with, and it can release chromium compounds, which moves extraction from sensible to necessary. Neither is better in the abstract. Pick veg-tan when the mark has to carry the piece, and chrome-tanned when drape and softness matter more than contrast.
QHow thick a piece of leather can a CO₂ laser cut?
Boss publishes a single-pass figure at 1/8″ — 85% / 75% / 70% power at 10–15 mm/s — and that is the number we will stand behind. Thicker leather is cut on these machines routinely, with slower passes or more than one, but Boss does not publish a chart beyond that and a specific figure for heavy saddle skirting would be a guess dressed up as data. Two things are worth knowing as thickness climbs. The edge gets darker, because there is more material to burn through and more time for heat to linger — so thick work is where masking and air assist earn their keep. And a hide is not one thickness: the same pattern can sever cleanly across the shoulder and leave a tag at the belly, which looks like a machine fault and is actually the animal. Tell a specialist the thickness you run most often rather than the thickest you have managed once.
Sources
The leather power, speed, scan-gap and thickness figures are transcribed from Boss’s own BL2-T83 CO₂ material settings charts (70 / 105 / 155 W tiers) — first-party Boss data, not industry averages. The 5–95% power limits, the refocus rule and the air-assist requirement come from the Boss HP Series User Manual. That chrome-tanned hide can release chromium compounds, and that PVC must never be lasered, are documented guidance rather than our inference. Items marked † — masking, residue removal, edge burnishing, sealing and conditioning — are settled leatherwork craft with no Boss-published procedure behind them, and are labelled as such. Every setting is a starting point: hide varies within a single skin, so prove it on the piece you are about to use.
Still deciding?
Tell us the hide, not the wattage.
Tannage, thickness, and the largest pattern you want to lay flat. Leather asks very little of a laser, so this is a bed-size and extraction conversation far more than a power one — and a specialist will say so rather than sell you watts you will never use.