
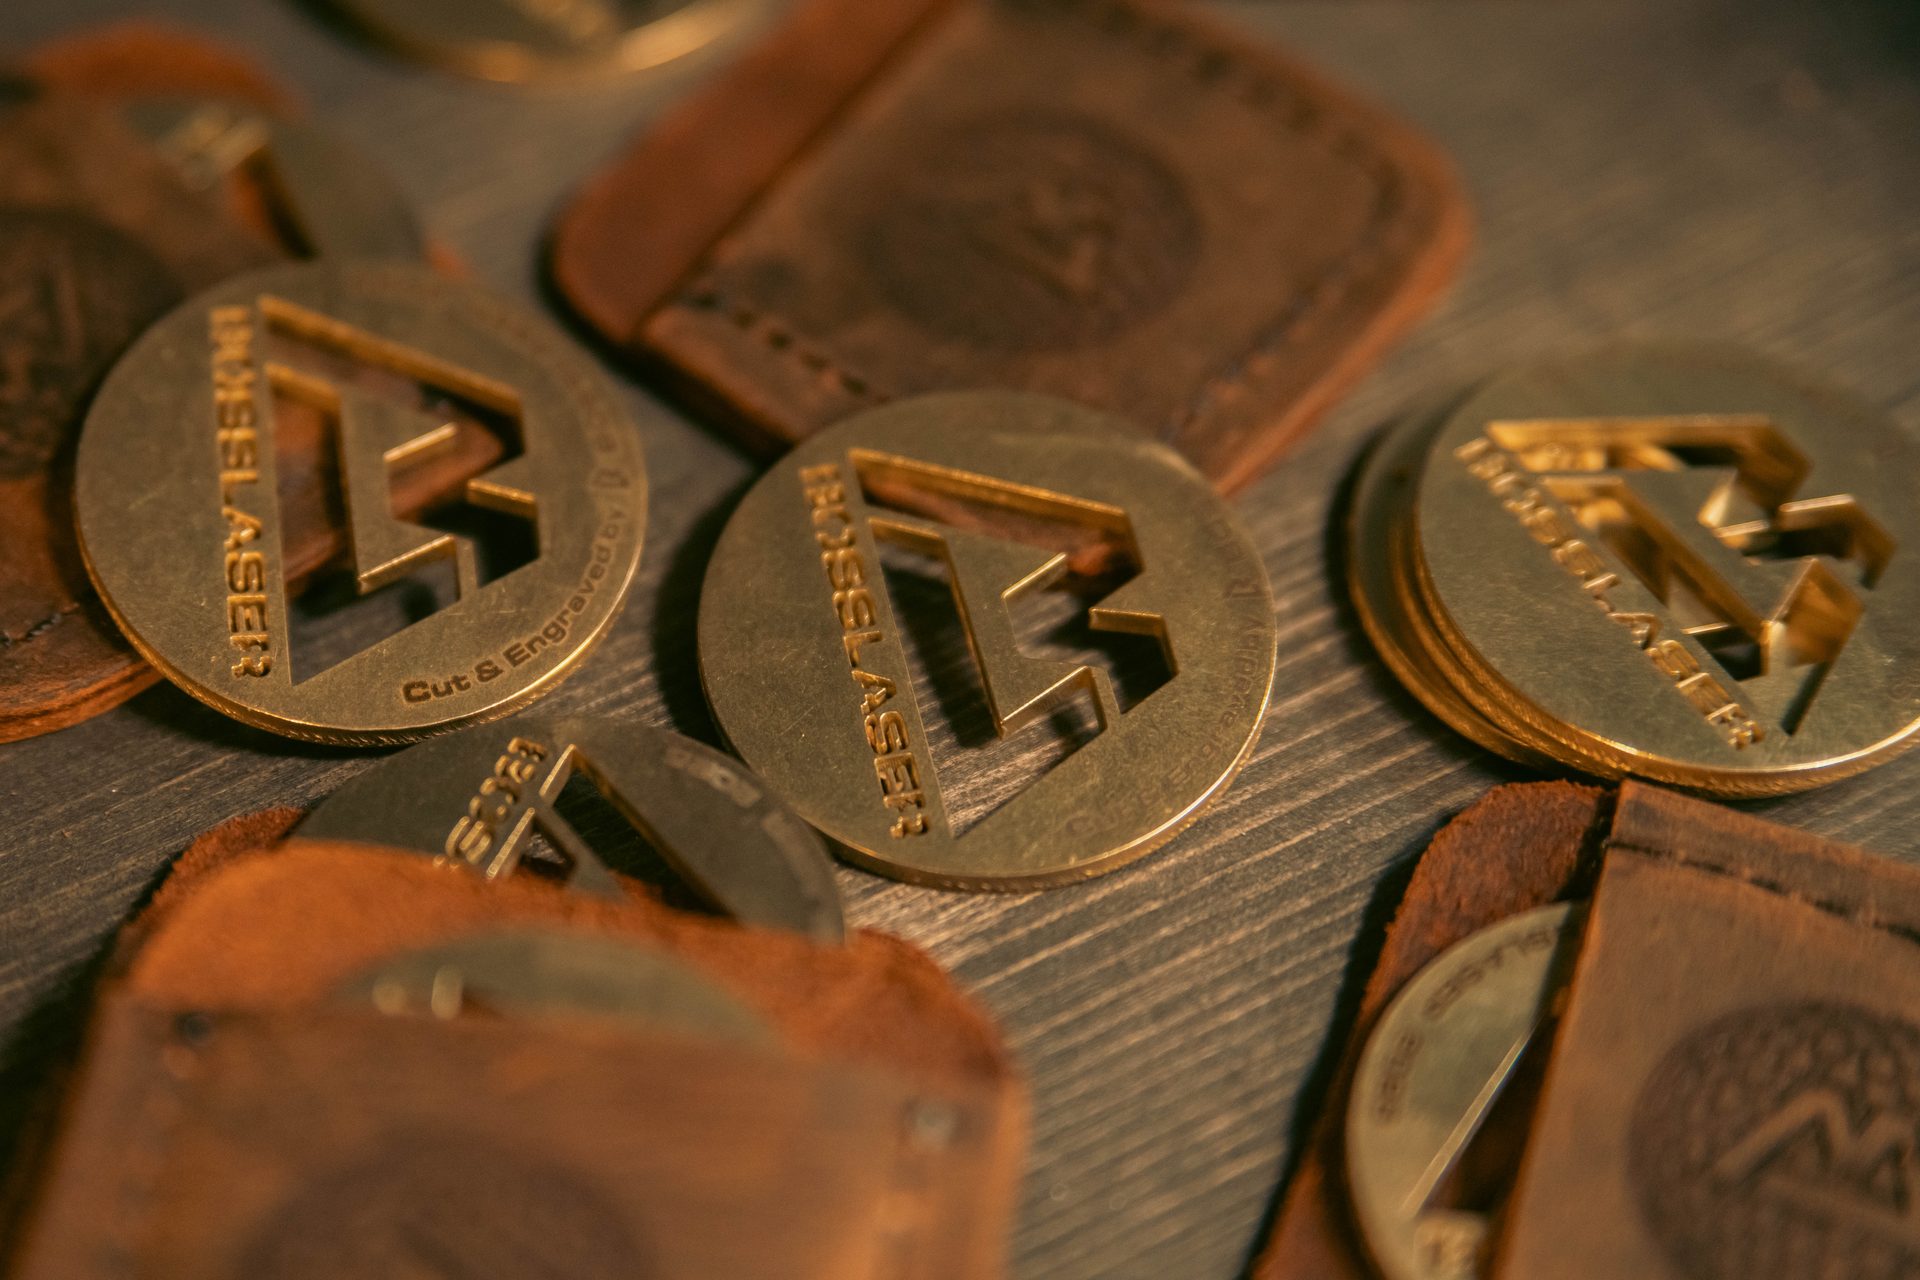
Patches are the job that pays for the machine, and the reason is the die you do not have to buy.
Traditional patch work is tooled work: a die has to be cut before the first piece exists, which means a minimum order, a lead time and a design frozen before anyone has seen it. A laser replaces the die with a file. Complexity stops costing extra, a run of twelve is as viable as a run of twelve hundred, and a customer’s change of mind costs an afternoon rather than a new tool.
Hat and jacket patches, appliqué, apparel detailing, and the short-run economics behind them.
Patch material, whether the edge needs to seal, nesting efficiency, and how the patch is attached afterwards.
The one thing worth knowing before anything else
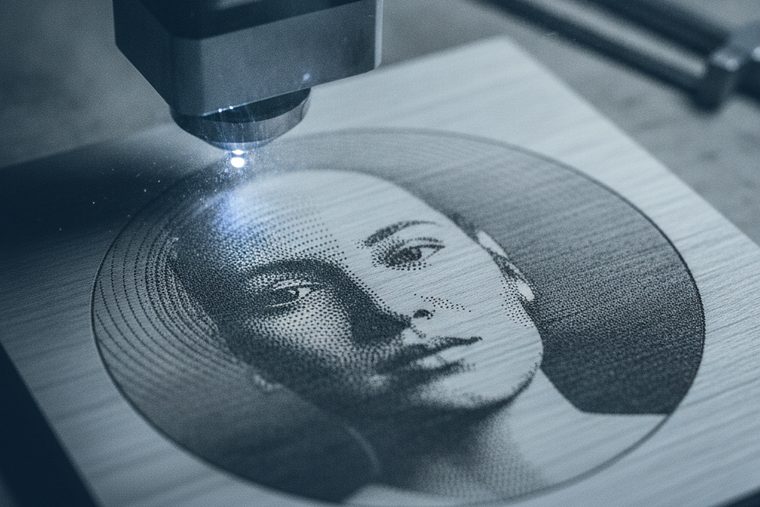
Cut and engrave are one job, not two. The machine engraves the artwork and cuts the outline in a single file without the piece ever moving, which means registration is perfect by construction — no aligning a print to a die, no creeping misalignment across a run of two hundred. That single fact is most of why laser patch work looks more expensive than it costs, and it is worth designing around: engrave first, cut the outline last, so the patch stays anchored in the sheet while the detail goes on.

A desktop EVO genuinely covers patch work. What you outgrow is bed area for nesting, not wattage.
Size up an EVOThe hat-patch default. Pale, firm, and it darkens richly under the beam, so a logo reads as tonal contrast rather than a scuff. Engraves at 25% / 18% / 15% at 350 mm/s on Boss’s published chart, and cuts at 1/8″ in a single pass.
The embroidered-patch look without the embroidery. Being thermoplastic, the cut edge fuses and will not fray, which removes the merrowed border as a requirement rather than a style choice.
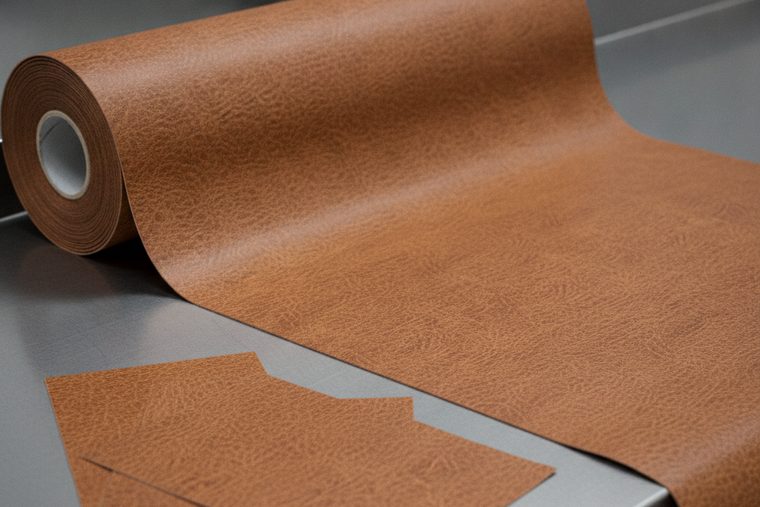
Runs acceptably and gives a consistent, blemish-free face that natural hide cannot — useful when a customer wants two hundred identical pieces. Confirm PU and not PVC before it goes near the bed.
Cuts precisely, chars slightly, and does not seal — so the edge still needs a finish if the patch will be handled. Choose it for the look and the hand, not to save a process step.
The supply question that matters more than any setting
Patch blanks and faux-leather rolls are exactly the products most likely to arrive with a vague description. PU faux leather runs; PVC “vegan leather” must never go in a laser at any setting — it releases hydrogen chloride, which harms the operator and corrodes the machine from the inside. The two are hard to tell apart on a roll. Ask the supplier which backing it is, and ask for the SDS if the answer is a shrug.
- 1 · Mask the face. Low-tack transfer tape over the blank or the sheet. On pale veg-tan this is the difference between crisp patches and hazy ones, because it takes the smoke residue away with it when you peel.†
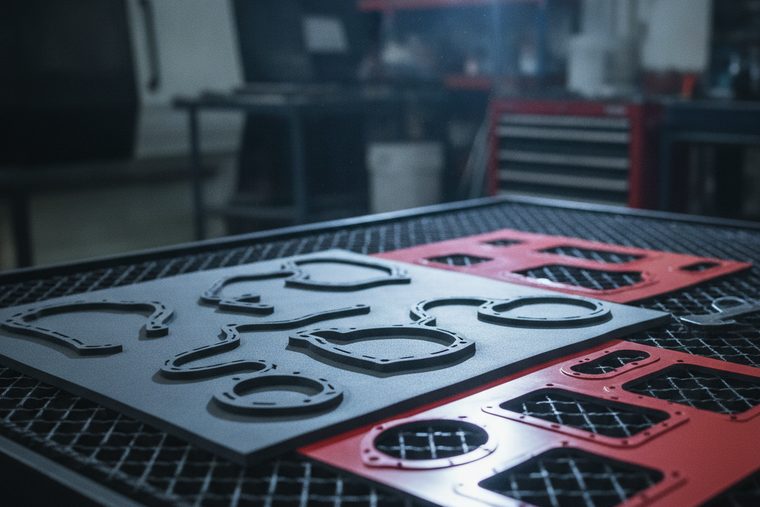
- 2 · Nest the whole run as one file. The economics of this work live here. A sheet laid out efficiently costs the same machine time as a wasteful one and yields more pieces, and because there is no die, mixed designs can share a sheet.
- 3 · Engrave, then cut. Detail first while the piece is still held in the sheet; outline last. Reverse that and you are engraving a part that is already loose.
- 4 · Peel and inspect the edge. On synthetics you are looking for a clean fused edge; on leather, for an even colour without a scorch halo. Either symptom is heat — raise speed and air, drop power.
- 5 · Back and attach. Heat-seal film, adhesive backing, or stitching, depending on what the customer is putting it on. This is a finishing decision rather than a laser one, but it should be settled before the run rather than after.†
Cut panels before assembly wherever you can. A flat piece of cloth lies still, focuses evenly and nests efficiently. Everything gets harder once the garment exists: seams and hems are step changes in thickness, a curved or draped surface moves in and out of focus, and the piece has to be fixtured so it cannot shift mid-job.
Two further cautions that are specific to finished goods. Dyes and prints are coatings. Engraving through a printed or heavily dyed area means vaporising whatever that print is made of, which needs identifying before it runs — the same rule as anywhere else on this site. And a mistake costs the whole garment rather than a patch blank, which is the practical argument for doing decoration as a separate laser-cut piece and attaching it, rather than engraving a finished jacket directly.
Appliqué is the middle path and often the best one: cut the shape from a synthetic so the edge seals, then attach it to the garment conventionally. You get laser precision on the piece that needs it and leave the garment alone.



Patch & apparel FAQs
Questions people ask about patch work.
Cleaning and finishing leather is covered on the leather page; these are the ones specific to patches.
QHow do you laser engrave leather patches?
As one job rather than two. Mask the face with low-tack transfer tape, lay the whole run out as a single nested file, engrave the artwork first and cut the outlines last so each patch stays anchored in the sheet while its detail goes on, then peel the mask and inspect. Because the engrave and the cut happen without the material moving, registration is exact by construction — there is nothing to align, and the two-hundredth patch sits as true as the first. Boss publishes 25% / 18% / 15% at 350 mm/s for engraving leather and 85% / 75% / 70% at 10–15 mm/s for cutting it at 1/8″, on the 70 / 105 / 155 W tiers. Vegetable-tanned hide is the usual choice because it darkens richly and gives the logo real contrast.
QWhat material makes the best hat patch?
Vegetable-tanned leather, for most people, most of the time — it is firm enough to hold its shape on a curved crown, pale enough that an engraved logo reads clearly, and it develops a patina rather than looking worn out. Thickness matters more than people expect: too thin and the patch ripples on the hat, too thick and it will not sit to the curve or feed through a sewing machine comfortably. PU faux leather is the sensible alternative when a customer wants two hundred visually identical pieces, because natural hide has natural variation and some buyers read that as a defect. Polyester twill or felt gives the embroidered-patch look with a fused edge that cannot fray. What matters in all three cases is settling the attachment method — stitched, heat-sealed or adhesive — before the run, because it can change the thickness you want.
QDo laser-cut patches need a backing or stitching to stop them fraying?
It depends entirely on the fibre, and this is the one place where material choice removes a whole process step. On a thermoplastic synthetic — polyester twill, poly felt — the cut edge fuses as the beam passes, so it physically cannot fray and a merrowed or stitched border becomes a style decision rather than a structural requirement. On natural fibres — wool felt, cotton twill, canvas — the laser gives you a precise, slightly scorched edge that is still an open edge, and anything that would have frayed before still will. Leather does not fray at all, so the question does not arise; its edge finish is about appearance, which is what burnishing is for. Backing film and adhesive are separate decisions again, driven by how the patch is attached rather than by the cut.
QCan I engrave a finished garment, or only flat panels?
Both are possible; flat panels are considerably easier and usually the better plan. A flat piece lies still, stays in focus and nests efficiently. A finished garment brings three problems at once: seams and hems are step changes in thickness that move the surface in and out of focus, the piece has to be fixtured so it cannot shift, and dyes and prints are coatings that need identifying before you vaporise them. There is also a commercial argument — a mistake on a finished garment costs the garment, where a mistake on a patch blank costs a blank. That is why most shops that decorate apparel do it by appliqué: cut the shape from a synthetic so the edge seals, then attach it conventionally. You get laser precision where it matters and leave the garment intact.
QIs laser patch-making actually cheaper than ordering from a die?
Not per unit at volume — and anyone who tells you otherwise is selling something. A die amortises: at several thousand identical pieces, tooled production wins on cost per patch. What a laser changes is everything below that volume, and everything about turnaround. There is no tooling charge, so a run of twelve is viable; no lead time, so a customer can approve artwork in the morning and collect in the afternoon; no per-design cost, so twenty different logos can share one sheet; and no minimum order to negotiate. That combination is why patch work suits laser owners: it is not competing with the die factory on its own ground, it is taking the orders the die factory turns away. Judge it on the jobs you currently decline, not on the ones you already fulfil cheaply.
Sources
The leather engraving and cutting figures are transcribed from Boss’s own BL2-T83 CO₂ material settings charts (70 / 105 / 155 W tiers) — first-party Boss data. Boss publishes no settings for twill, felt or patch blanks, which is why none appear here. That PVC must never be lasered is documented guidance rather than our inference. Items marked † — masking, backing film, adhesive and attachment choices — are ordinary decorating-trade practice with no Boss-published procedure behind them. The commercial comparison with die-cut production is our assessment of where each method wins, offered as a judgement rather than as data.
Still deciding?
Tell us the sheet, and how many patches are on it.
Patch work is the clearest case on this site for buying less machine than you expected. A specialist will size the bed to your nesting rather than to a wattage number, and put the extraction on the same quote.