
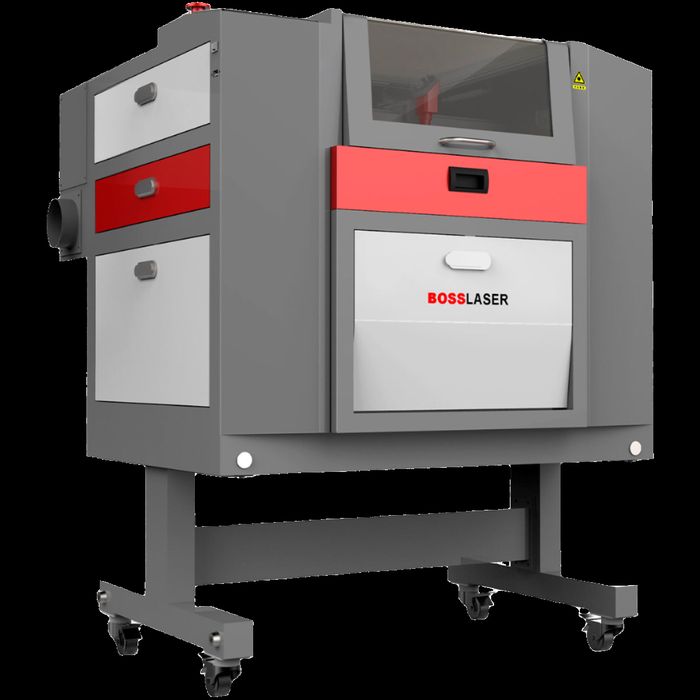
Boss fiber (FM) & UV markers
Marking lens & field size
Bigger field, larger spot
Fit the part, then the feature
A marking lens is built for one fixed field size — the square area the galvo can scan without moving the part. That field size is set by the lens’s focal length, and it comes with a trade-off: a smaller field concentrates the beam into a smaller spot, giving the finest detail and the highest power density; a larger field covers more of a part in one pass but with a larger spot, so less fine detail per pass. Pick the field by your part size and the smallest feature you need to resolve — a part that doesn’t fit the field has to be repositioned and marked in sections, or moved to a larger-field lens.
1 · The one trade-off: field size vs. spot size
On a galvo marker, the lens doesn’t move — mirrors steer the beam across a fixed working area under the lens, called the marking field. Field size is set by the lens’s focal length: a shorter focal length concentrates the beam into a smaller field and a smaller spot; a longer focal length spreads the same beam over a larger field, and the spot it converges to gets larger along with it.
- Smaller field, smaller spot — the finest detail and the highest power density for a given laser. Best where legibility of small text, fine barcodes, or micro features is the whole job.
- Larger field, larger spot — covers a bigger part, or more parts, without repositioning. You trade away fine-detail resolution and some power density per unit area to get there.
This is the same optics trade-off as CO₂ lens focal length — see the related guide below — just applied to a galvo scan head instead of a moving gantry.
2 · Common field size classes
Marking lenses are sold in a handful of standard field-size classes across the industry, tied to specific focal lengths. These are typical classes you’ll see quoted by lens and machine makers generally — not a Boss-specific lens lineup. Confirm the field options for your Boss FM/UV configuration with a specialist before you spec a job around one.
| Class | Typical field | Typical use |
|---|---|---|
| Fine-detail | ~70×70 mm | Micro text, fine barcodes, small chip or component marking — smallest spot, highest detail |
| Standard | ~110×110 mm | The most common general-purpose class — balances detail and part coverage for everyday logos, serials, and part numbers |
| General-purpose, larger | ~150×150 mm | More part in one field when 110 mm is too tight, with a modest step up in spot size |
| Large-part | ~200×200 – 300×300 mm | Big panels, multi-part trays, or one pass across several small parts at once — largest spot, least fine detail |
Field sizes and their matching focal lengths, per Sino Galvo’s and Heat Sign’s F-theta lens guidance — industry-typical, cited, not Boss-validated.
3 · How to choose
Start with the part, not the lens
Measure the largest part (or the layout of parts) you need marked in one setup. If it doesn’t fit inside a field, you either reposition and mark it in sections, use a fixture that indexes the part between marks, or step up to a lens with a larger field.
Then check the smallest feature you have to resolve
Small fonts, fine barcodes, and 2D data matrix codes need a small spot to stay legible and scannable. If the smallest feature on the part is tiny relative to the part itself, that feature — not the part’s overall size — should drive the lens choice, even if it means marking in sections on a bigger part.
Weigh throughput against detail
A larger field can mark several parts, or a whole panel, in one pass without repositioning — real throughput on production runs. A smaller field marks less at a time but with more detail and power density per pulse. The trade is real; there’s no field size that gives you both for free.
Plan working distance & fixturing around the field you pick
Each field size pairs with a fixed working distance from the lens to the part. Fixturing has to hold the part at that distance and flat to the field — see depth of focus below — so the lens choice and the fixture design aren’t separate decisions.
Rotary work adds a second axis
Marking around a cylindrical part (rings, tubes, fasteners) usually pairs a smaller, more detailed field with a rotary attachment that turns the part under the beam, rather than trying to cover the whole circumference in one static field. Talk to a specialist about rotary setups for round parts.
4 · Depth of focus & flatness
A marking field isn’t just wide and tall — it also has a depth of focus, the range in front of and behind the ideal working distance where the beam stays sharp enough to mark well. Field size and depth of focus move together with the same trade-off as spot size:
- Smaller fields tend to hold a tighter, shallower depth of focus — the part needs to sit flat and at the right working distance, or the mark at the edges of the field can soften.
- Larger fields are generally more forgiving of a part that isn’t perfectly flat, but the spot itself is already larger to begin with.
- Edge-of-field behavior matters too — spot size and focus can shift slightly at the corners of a field versus dead center, which is worth checking on a test piece before committing to a layout that uses the full field.
Curved or uneven parts
A part with real curvature or height variation across the field may need a smaller field (shallower part per mark, more repositioning), a rotary fixture, or — for parts with meaningful 3D shape — a different marking approach altogether. Confirm the fixturing plan for an uneven part with a Boss specialist before you commit to a lens.
Frequently asked
Lens & field sizeQWhat does “field size” mean on a laser marker?
It’s the fixed area a galvo marker’s mirrors can scan under the lens without moving the part — set by the lens’s focal length. A part or layout has to fit inside the field, or it needs to be repositioned and marked in sections.
QDoes a bigger marking field mean lower quality?
Not lower quality — a different trade-off. A larger field converges the beam to a larger spot, so fine detail and power density per pulse go down somewhat versus a smaller field. For logos, serials, and most part numbers a larger field still marks cleanly; it’s very fine text, fine barcodes, and micro features where the difference shows up most.
QHow do I know if my barcode or serial will stay readable?
Match the lens’s spot size to the smallest element in the code — the narrowest bar or smallest data-matrix cell. If that element is small relative to the part, choose a lens by the feature, not the part’s overall footprint, and confirm readability on a test mark before a production run.
QCan I mark several parts at once in a larger field?
Yes — that’s the main throughput argument for a larger field: a tray or panel of parts marked in one pass without repositioning. You give up some fine-detail resolution and power density to get there, so weigh it against how fine the marks on those parts need to be.
QWhat field size does Boss offer on its FM and UV markers?
Field size options vary by configuration. Confirm the field and lens options for your specific Boss FM or UV marker with a specialist before speccing a job around one.
5 · Related guides & next steps
- Beam Quality and M² — the beam property that sets your usable field and spot size.
- Marking vs Engraving Metal — the other marking decision: which method leaves the mark you need once the lens is chosen.
- Choosing a CO₂ Laser Lens — the same spot-size-vs-detail trade-off on the CO₂ side.
- Fiber Laser Power Guide — when the job is cutting metal instead of marking it.
Ready to match a lens to your parts?
Field size is a spec question, not a guess.
Tell a Boss Laser specialist your part size, your smallest feature, and your throughput target, and we’ll point you to the right FM or UV configuration and lens.